Showing posts with label Spring Door Hanging. Show all posts

Sunday, March 9, 2014

Burlap Bunny Banner


Time for a Spring Craft Party!


Taking many of the fun trending elements:
Pin It!

burlap,

yarn poms,

chevron,

natural wood,

gray and white,

and putting them all together

make a sweet spring door welcome

or wall art.


To give the burlap a good firm base,

I used canvas (duck cloth) 

and painted it with 

watered down white flat paint.

Let it dry overnight.

You may need to paint the other side

to give it more stability.

Turn the edges under and glue with tacky glue.

Your canvas base will measure

18 1/2" x 25 1/2".


Pin It!

Cut a burlap rectangle measuring

15 1/2" x 19 1/2"

Pull off 4 threads from all 4 sides.

Hot glue two 18 1/2" pieces of lath

(we put a brown paint wash on ours)

to top and bottom of canvas.

Hot glue burlap around edges

(inside of fray)

to the center of the canvas.

Paint with white or cream inside of stencil.

Here is the stencil that I made in photoshop,

printed on cardstock,

covered front and back with packaging tape,

and cut out design.

I made another stencil that said 

"happy spring".

Many of the girls used that one.


Here is the pattern:


We made yarn poms

in gray, cream, and yellow

and attached with glue from the back.

Then trimmed up a smaller pom for the tail.

We used 1 yard lengths of chevron ribbon

cutting in half lengthwise.

Hot glue to back

(placing at an angle)

Double knot.

Then a bow.


Pin It!

Always fun crafting with the girls!

Thanks for visiting my blog!

Deb


Sharing At:

Wednesday, February 26, 2014

Spring Art DIY - Carrot Door Hanging

Ready or not -

(and I know you're ready)

here comes 

some Spring art!


Pin It!


Pin It!


You can start this project now

and it will be ready for your

front door soon!

I used 1/2" plywood measuring 10" x 40".

Sand all edges.

Paint back and edges gray.

Paint front primer white mix.

Lay out stripes 4" and 3.25" alternating.

(a standard 4x6 photo makes a good template)


Using two colors - gray and white -

brush on stripes.


Enlarge this carrot pattern to fit the 10 x 40 space.


Pin It!

I made my own mixes of paint - pale orange

and pale green - to try to match the colors

in my photoshop sample.


Paint slightly darker orange stripes.


Put a darker green gray shade on the carrot leaf.


Attach D rings on back.


Add two 32" lengths of ribbon.


Pin It!


Simple.

Modern.

Folk art.

Will make a light hearted 

and graphic impact 

on your wall

or front door.

Hope you try it!

Deb


Link Parties:


Sunday, March 18, 2012

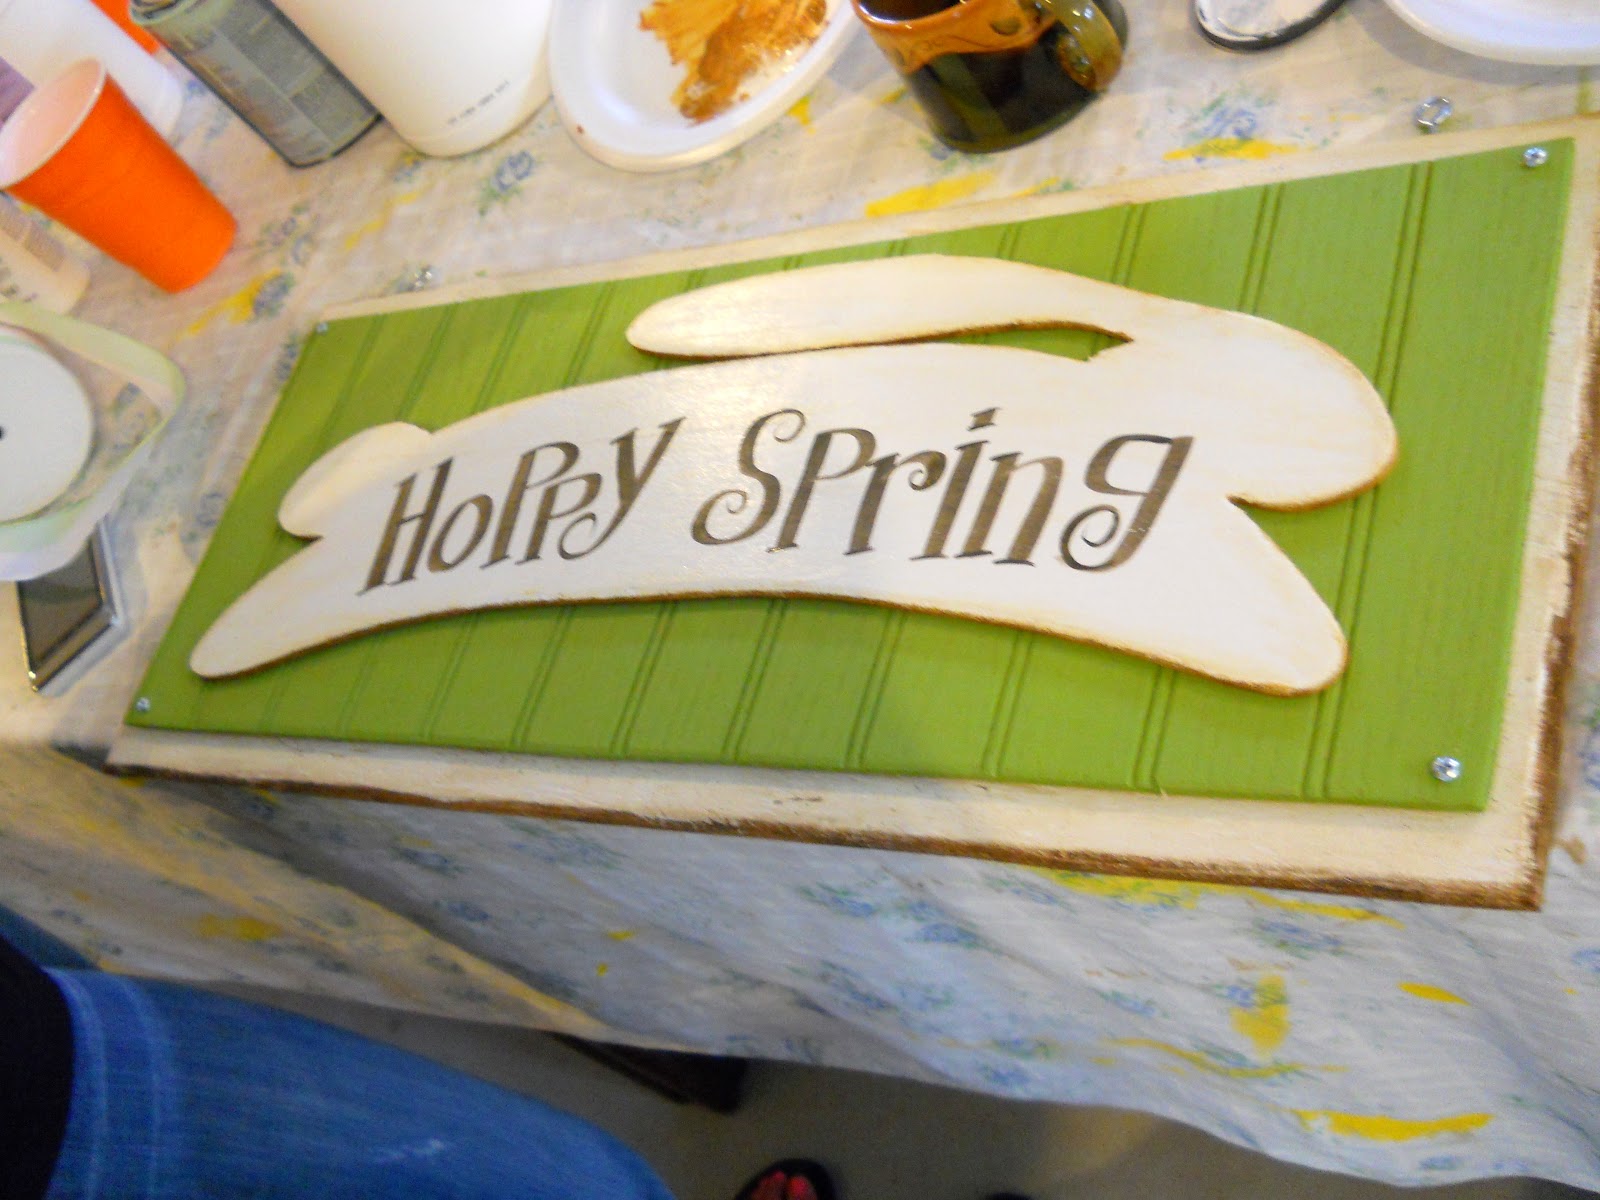
How to make Easter Wall Art

It's time to have a craft party.
This beadboard bunny sign will be a fun spring project.

 
Pin It!
 
 
Here's what you will need for wood:
3/8" thick plywood for backing, cut  10 1/2" x 25"
Beadboard panel (I used unfinished birch), cut 9 1/2" x 24"
Bunny cut from MDF (it is a thin wood panel about 1/8" thick)
You are welcome to enlarge the bunny silhouette to use as a pattern for your personal use.


Carve the edges of the plywood back using your jigsaw
holding it at a slight angle.
The angle of the cut will look something like this:


See, the edge will have a slightly carved look
giving it that rustic feel.


Sand all of your pieces.
Now you're ready to paint.
Paint the back of the plywood black so it will look finished when complete.
Paint the front of the plywood white leaving the edges for raw sienna color.


Splatter white with camel color paint.


Paint the beadboard.
I used blues and shaded the edges a bit.
Here are some colors I mixed:


I painted the bunny white and rubbed a raw sienna wash over top
then brushed raw sienna on the edges.

Using a script font from the computer,
I printed out the text
to fit the length of the bunny.


Using my patio door as a light box,
I held the text printout right side against the window
and then using a pencil I traced the letters on the back side.
Now I have a pencil line that will transfer to the bunny
when I lay the pattern in place and press down on top of the text with a pencil.
That gives me a nice pattern to follow with gloss paint and my liner brush.


Use 1/2" sheetmetal screws to attach beadboard at 4 corners.
Use 2 screws to attach bunny on top of beadboard.


Optional to use sawtooth hangers on back
or two 1 3/16" screw eyes to hang from ribbon on top.


The Great Thing about a Craft Party is
that everyone has their own ideas
for color and text.
Let's see what the girls came up with!


Pin It!


Such a fun time with family!
Feel Free to use this design idea
for a craft party of your own.

Thanks for stopping by.
 
 
Linked to :