Showing posts with label Spring Art. Show all posts

Saturday, February 21, 2015

Painting Tips for Nest and Egg Art

It is so time to paint something Spring!


Pin It!


I'm always ready for warm spring reminders on my wall

so I start painting those hopeful signs now.


You can too!

Any wood or canvas surface will do.

This nest art is 22" x 22".

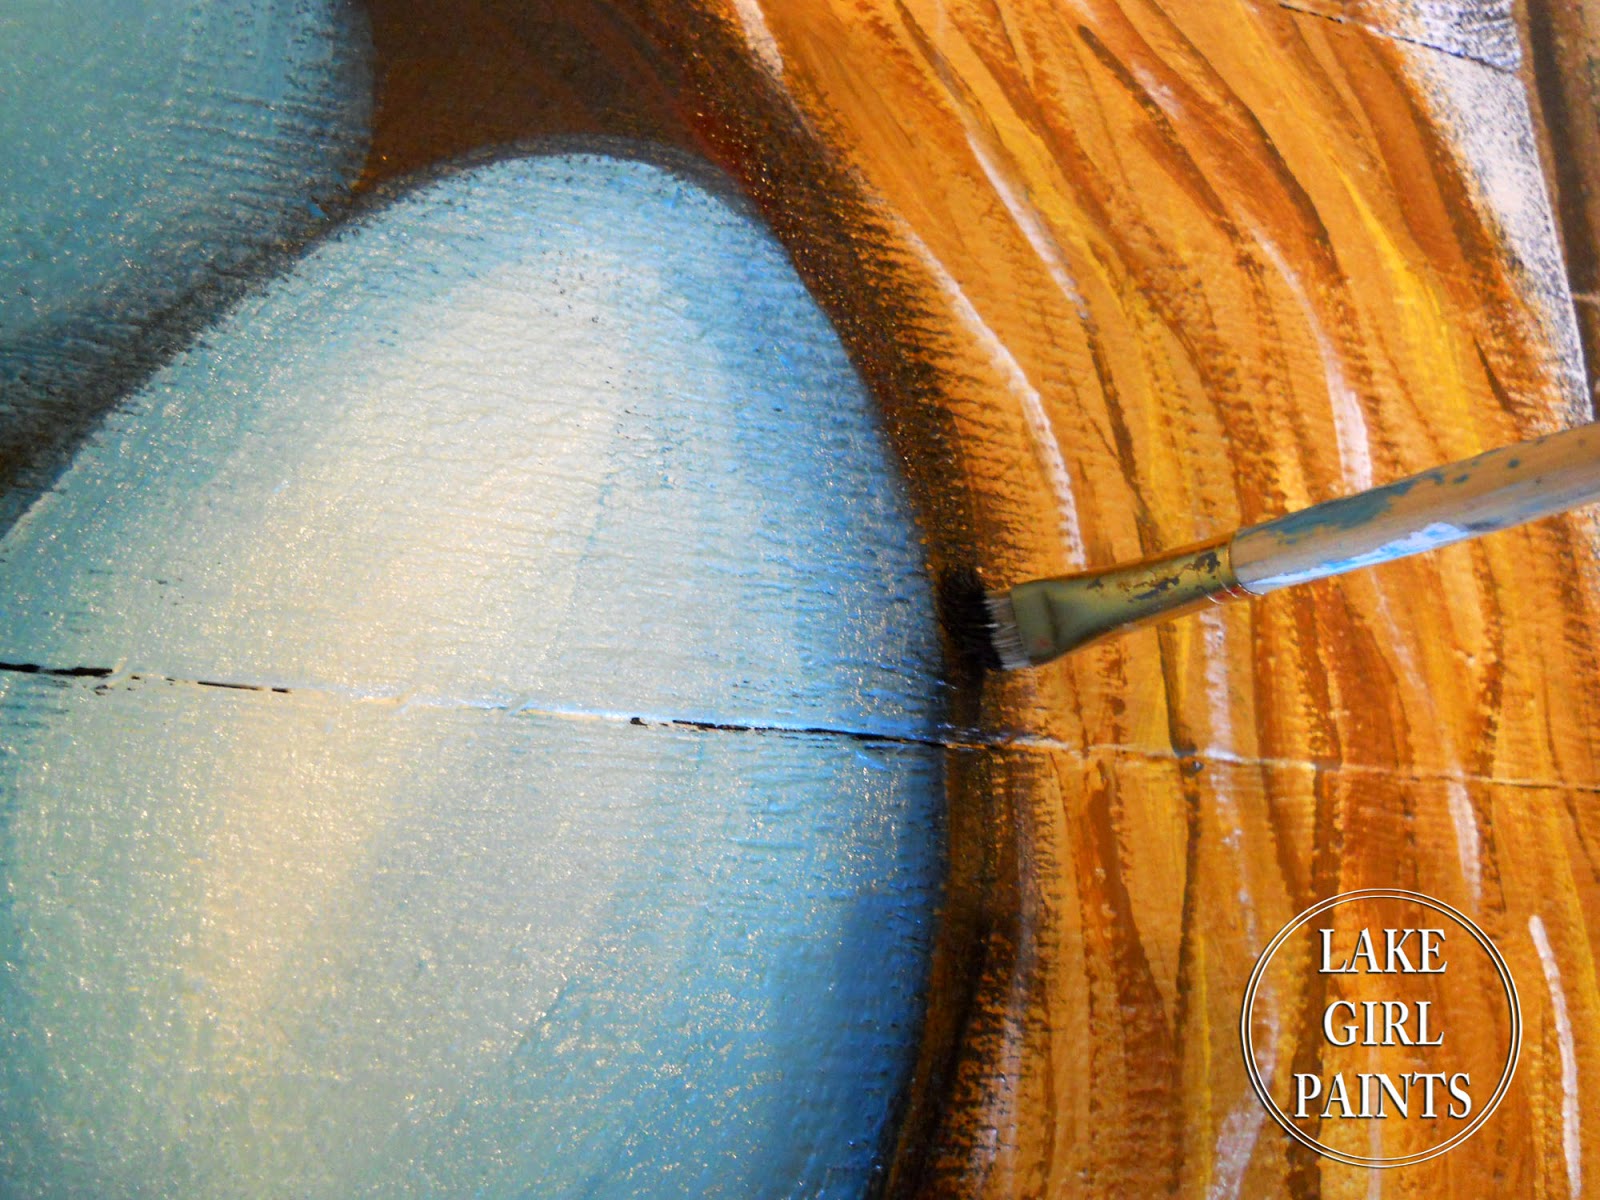
Start with a brown wash

and

White over top leaving an 11" circle.


Here are the colors for the golden nest:


The center brown is a mix of black and chocolate bar.


Alternate yellows and pull a flat brush

around the nest in a wave motion.


Then use a smaller round brush and do the same.

Then again with a fine liner and add some white.


Make an egg template, trace with chalk,

and fill in with white primer.


Shade with turquoise and aqua

giving a good white highlight.


Shade inner circle with brown.


Pin It!


Ashley's large brown egg painting in her book "Handmade Walls"

got me started!  

Though there is not paint instruction for this project,

there are so many other great frame ideas!


You know you want some happy spring art too!

Hope you get your brushes out : )

This helps me get through winter and look forward to Spring.

Two years ago at this time

I made some other Spring Art 

that you might want to try.


This could be a great project this February Weekend,

Deb


Sharing At:


Pin It!


Sunday, March 9, 2014

Burlap Bunny Banner


Time for a Spring Craft Party!


Taking many of the fun trending elements:
Pin It!

burlap,

yarn poms,

chevron,

natural wood,

gray and white,

and putting them all together

make a sweet spring door welcome

or wall art.


To give the burlap a good firm base,

I used canvas (duck cloth) 

and painted it with 

watered down white flat paint.

Let it dry overnight.

You may need to paint the other side

to give it more stability.

Turn the edges under and glue with tacky glue.

Your canvas base will measure

18 1/2" x 25 1/2".


Pin It!

Cut a burlap rectangle measuring

15 1/2" x 19 1/2"

Pull off 4 threads from all 4 sides.

Hot glue two 18 1/2" pieces of lath

(we put a brown paint wash on ours)

to top and bottom of canvas.

Hot glue burlap around edges

(inside of fray)

to the center of the canvas.

Paint with white or cream inside of stencil.

Here is the stencil that I made in photoshop,

printed on cardstock,

covered front and back with packaging tape,

and cut out design.

I made another stencil that said 

"happy spring".

Many of the girls used that one.


Here is the pattern:


We made yarn poms

in gray, cream, and yellow

and attached with glue from the back.

Then trimmed up a smaller pom for the tail.

We used 1 yard lengths of chevron ribbon

cutting in half lengthwise.

Hot glue to back

(placing at an angle)

Double knot.

Then a bow.


Pin It!

Always fun crafting with the girls!

Thanks for visiting my blog!

Deb


Sharing At: