Sunday, August 30, 2015

Rustic White Pumpkin Art

Fall Decorating

is here!

Time to paint some pumpkin art.


Pin It!


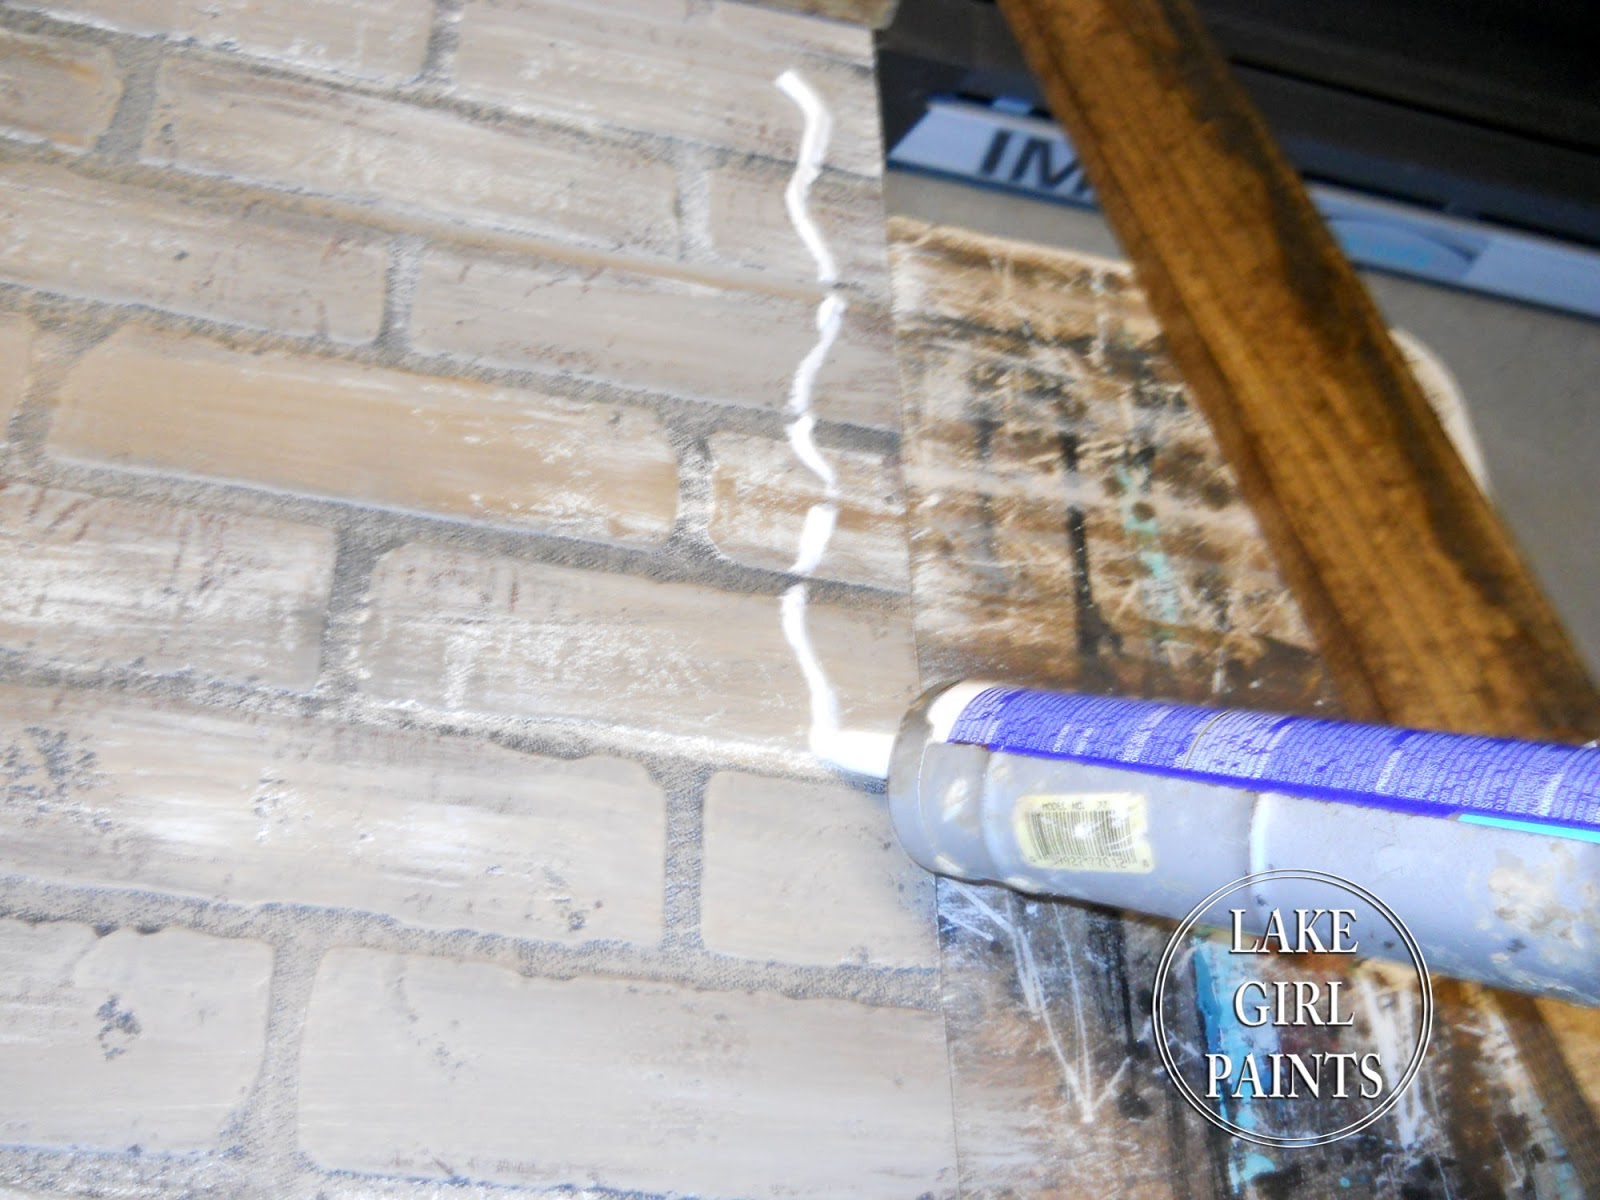
So, today I'm going to be painting on 

rough board.

After a brown wash base and first coat of white,

I sketched a pumpkin shape onto my board.


I used some heavier tube acrylics in

white, ecru, warm grey, and grey.

I used a folded piece of card stock to drag my paint

across the surface, all around the pumpkin.


I dipped the card stock into a bit of each color

making a mixed background.


Then I used a liner brush to just sketch in the curved

lines and perimeter lines of the pumpkin.


Then I used my palette knife (you can still use card stock)

to drag mostly white paint onto the pumpkin

with just an edge of grey brown on the curved lines.


Lay your knife flat for more coverage.

Keep it on it's side for a fine line.


Use raw umber and ecru for the stem.


Add more shading to the bottom and right of the pumpkin.


Pin It!


Hope you try it!

The next one I'm going to share in on a canvas panel.

Time to paint pumpkin art,

Deb


Sharing At:

Sunday, August 23, 2015

Farmhouse Dining - Wood Grain Stain and Black Shading

Natural Farmhouse Dining -

So warm and inviting!


Zeb and Laurel chose a timeless style

that will be in their family for generations.
Pin It!

But you should see the construction update 

that the table underwent.


The basic leaf extension mechanism was built 

into this table.  

Two leaves tuck under on each side of the square

so that it pulls out into a long harvest table.

So with that in place, Zeb replaced the top

with planked white oak

and made new tapered square legs.


My job was to finish it so that the wood grain would show

and still have some black weathered edges.

I used Provincial and Ebony stains.


Beginning with one coat of the provincial,

and then adding the ebony stain with a dry brush,

lightly blending to get the effect that I wanted.


I kept the black heavier on the edges.

Then applied a coat of semi-gloss polyurethane.

After that dried,

I went in and added more black,

then applied another coat of poly.


Laurel found a great basic

chair style that was also unfinished.


To get the black painted and weathered look,

I ran a piece of wax along all of the edges 

to resist paint in those areas.

I brushed on one coat of semi-gloss black enamel,

indoor/outdoor paint.

(This will come premixed in a can at any hardware store)

I kept the brush strokes airy and random so that some wood

was still visible .


Pin It!


Then use a rag to wipe on provincial stain over the top.

This will take a day to dry.

Sand the chair lightly.

You can go back with either more paint or stain,

depending on the look you want.

Sand all of the edges for the worn distressed look.

Make sure to reapply stain in those areas if you need to.

I used a semi-gloss polyurethane sealer.


I love how the painted black chairs

complement the stain and black table.


Such a fun project.

I love seeing it in their home!


Sharing At:


Monday, August 17, 2015

How to Paint a Brick Sign - Popcorn and a Movie

I have a fun project today!

If you like a graphic and industrial style,

this sign is for you.


Pin It!
Everybody loves Popcorn and a Movie!


Made to be like a vintage brick wall sign

within a rich wood frame,

this would be great for a family room

or home movie theater.

It's large scale, 39.5" x 39.5"

will make a big impact on your wall.

So, begin with the brick panel.

Mine was about $24 from Menards.

I used 36" 1x4's for the frame.


Wear a mask when cutting the brick panel.


Here's a look at what the panel looks like sanded.

That would be a good effect on it's own,

but I wanted a gray and tan mix.


I used Provincial and Ebony stain to get a "reclaimed" wood look

on the frame.


After basing my brick with an off white,

I added some grays, tans, and creams.


Adhere the boards with power grab.
Pin It!

Flip and add screws and D rings to the back.


Yay - here's a template you can use.


Chalk or pencil transfer onto board.


Chip brush black, then you can refine edges if you want.


Transfer ticket pattern onto white center.

Detail Paint.


So it will look like this before it is sanded:


and like this after sanding:


I also put a semi-gloss sealer on the wood frame.

Wouldn't this be fun in a home theater area.

Simple, graphic, industrial.


Pin It!


I want to make a brick "coffee shop" sign now!

The fun thing about being able to make signs

is that they can be so personal to your space

and as large as you want.

Hope you try it!

Deb


Sharing At: