Showing posts with label Personalized Art. Show all posts

Sunday, April 7, 2013

Custom Signs


Your signature style.
 
Personalized.
 
Custom.


Painting custom signs is a large part of my work.
 
Here is an example of a House Number Sign
 
that you might like to make too.


Pin It!
 
 
I used the "Dip and Drag" paint technique.
 
Ha, sounds so complicated...it's just cardstock
 
dipped in paint and scraped onto surface.


You can read more about that Here.
 
Then you can make a print of your number
 
and chalk the back surface
 
using your window as a light box.


Transfer onto board from the front
 
with a pen or pencil.


You can see the light outline here.


Base paint white.
 
Shade a little bit with camel.
 
Drop shadow black with a liner brush
 
on right sides and bottoms of numbers.


Here are some other personalized Lake Signs:


Pin It!
 
Some of these are large...about 3' x 4' or larger.
 
Larger scale for outdoor signs make such a nice visual.


This is a smaller sign for a front door:


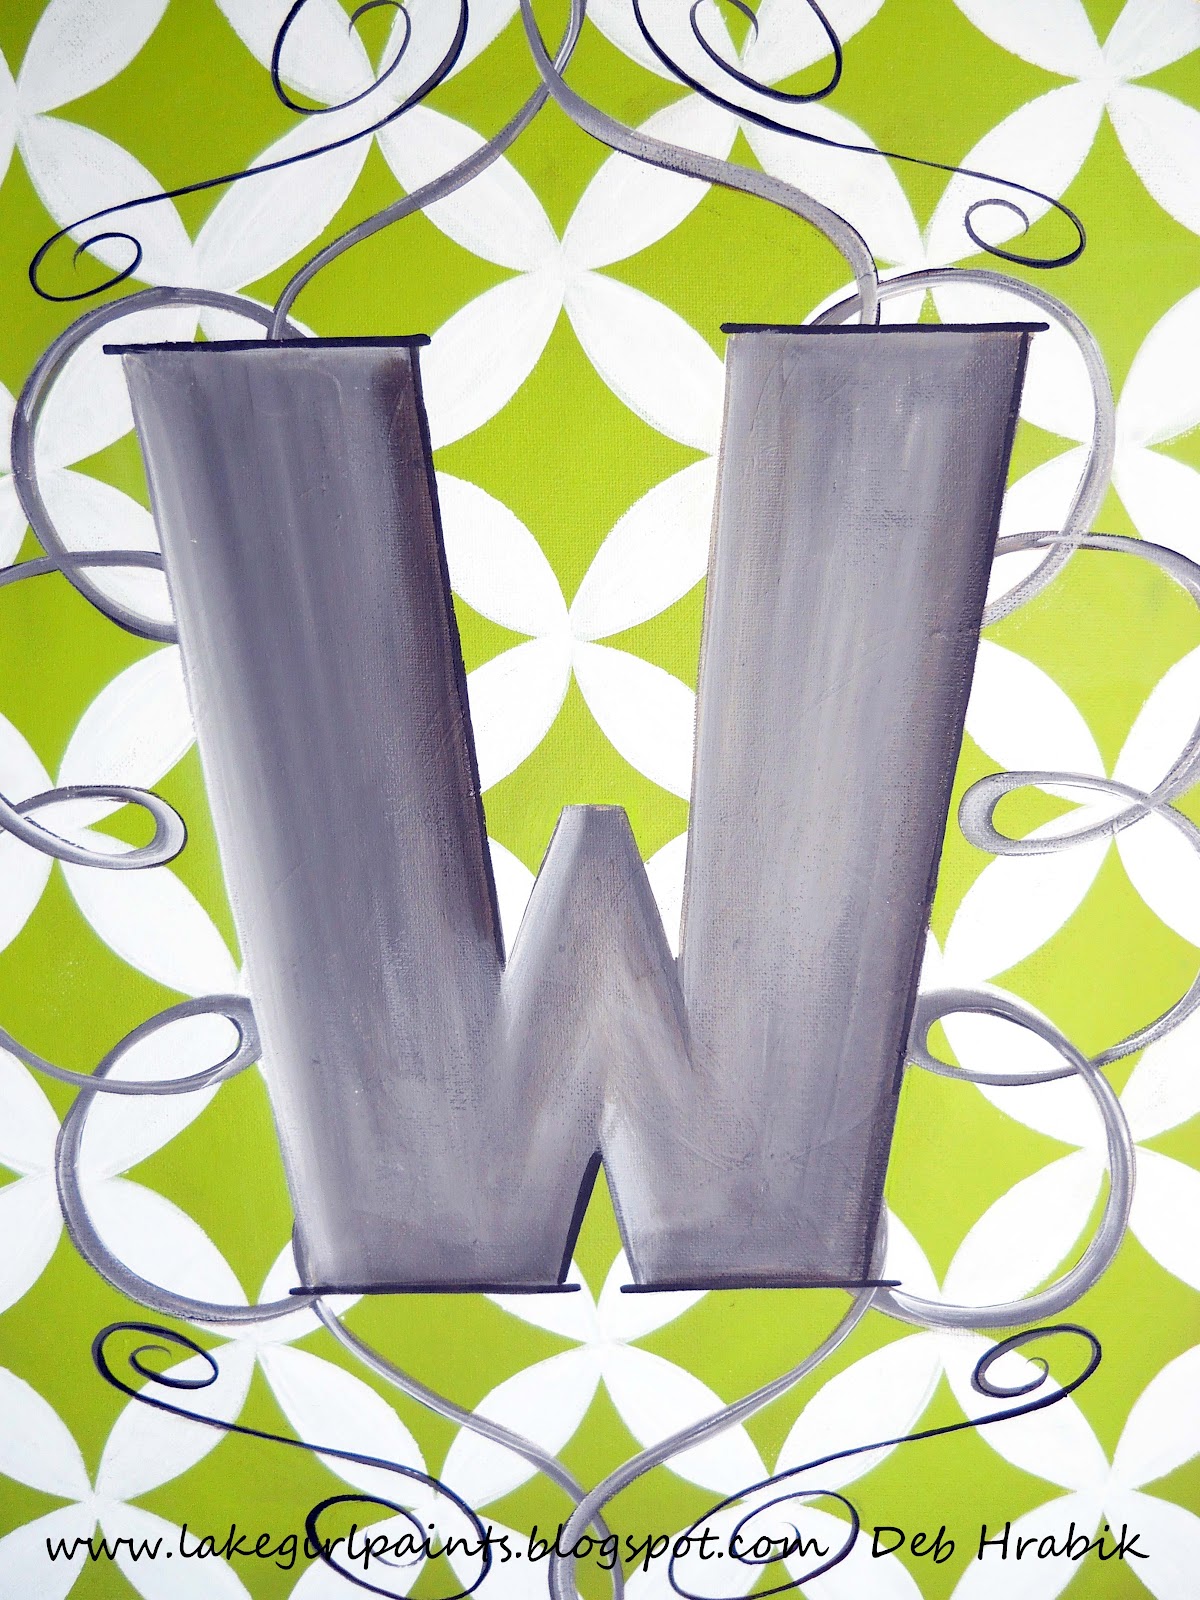
And this is what I'm working on today -
 
She wanted the 12 Gifts of Marriage
 
made into word art.


I still used the scraping (dip and drag) paint style
 
for the background but instead of stripes
 
I applied it in squares with a variety of
 
horizontal and vertical pull.
 
Here's a close up of the layered paint:


Pin It!
 
Isn't that the best thing about being a DIY'er!
 
We can make it our own.
 
Just the way we like it.
 
What a fun and artful journey.
 
So glad to share it with you friends!
 
Deb
 
 
Link Parties:
 

Friday, April 20, 2012

Canvas Monogram - Make a Wedding Gift


Just think -
You could personalize wedding gifts
for your friends this summer!
Or-
make one for yourself.

Either way, this is a good punch of pattern and color
for your front door
or inside your home.

Start with a canvas Panel (about 2 or 3 dollars)
This one measures 16 X 20.

Start with painting the back semi-gloss black
for a nice finishing touch.

Paint the front of the canvas one solid color
or mix two tones.
I double loaded a brush using
lime green on one side of the brush and
darker sour apple green on the other.


When you look at the background pattern,
what shape do you see?
diamonds?
circles?
4 leaf design?

I suppose you could pick any of those shapes
to make your stencil.
I chose the 4 leaf pattern:


For my stencil
I started with a piece of cardstock paper.
Draw your shape
leaving good margins around your design.
I cover both sides of my cardstock with
wide packaging tape to sturdy it up
and make it reuseable.
Then using an exacto knife
on my cutting board, I cut out
the 4 leaf pattern.
This pattern shape
needs to be a 4 inch square so it
will fit nicely on the 16 X 20 canvas.
Then lay in the white paint
and repeat so that the edges of the
stencil repeat just touch.


Any rough edges can be cleaned up with paint
or wiped off if you catch it right away.
Baby wipes are a staple on my art table!
To give the white leaf pattern
a nicer finish,
take a 1" flat brush loaded with white paint
and pull it on it's side making a clean line.


Lightly sketch in where you want
your flourish pattern to go.
I made a large paper pattern
to trace around.
Then use a liner brush
loaded with grey and white to paint  the flourish design.
I add clear glaze to dip my brush in
to extend the paint and
get better flow.

Then make a large pattern
for the monogram letter.
Trace around and fill in.

Now for the grommets on top:
Using a 3/8" inch spade bit
drill two holes away from the edges


Clean up front and back edges
with an exacto knife.


Put top grommet extender through the front of the canvas.


Hold flat piece on back.


Using the grommet tool kit,
lay the front ring into the receiving flat disc.
Hammer the little silver driver
down from the back side.


You need to be firm with your hammer
and working on a hard surface
(a concrete floor is good).

Ta Da!
You're ready for the ribbon.


You can do it!
Wouldn't that make a great gift!

Have a great weekend,
Deb


Linking to:
HookingupwithHoH


Linking to I heart nap time